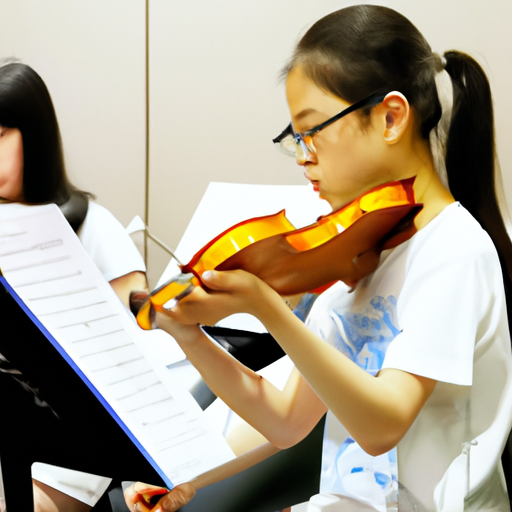
Learning to play the violin requires not only a good ear for music but also proper technique and form. One of the fundamental aspects of violin playing is correct bow holding. It may seem like a simple task, but holding the bow correctly can greatly impact the sound quality and overall performance. In this article, we will explore the importance of correct bow holding for novice violinists and discuss the benefits it brings.
1. Improved Sound Quality: Holding the bow correctly allows for better control and precision, resulting in a more consistent and beautiful sound.
2. Injury Prevention: Proper bow holding technique helps prevent strain and injury to the wrist and fingers, ensuring the longevity of your playing career.
3. Artistic Expression: By mastering correct bow holding, you gain the ability to express emotions and dynamics more effectively through your playing.
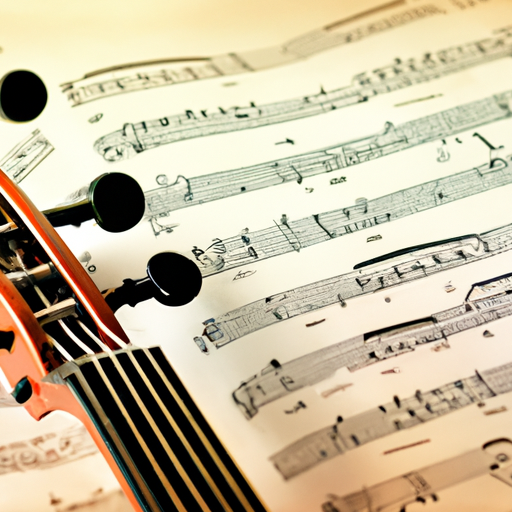
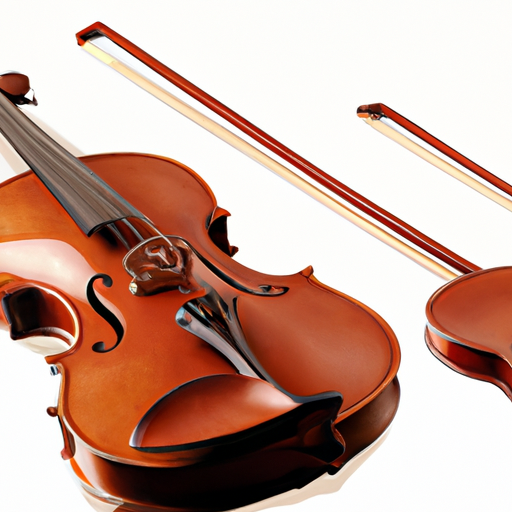
Before diving into the specifics of bow holding, it is important to understand the different parts of the violin bow:
The stick is the long, straight section of the bow that runs from the frog to the tip. It is usually made of wood, carbon fiber, or a combination of both.
The frog is the bottom part of the bow and is where the violinist holds the bow. It is usually made of ebony and features a screw mechanism for adjusting the bow tension.
The hair is the part of the bow that comes into contact with the violin strings. It is made from horsehair, which is tightened or loosened using the frog's screw.
Understanding the anatomy of the violin bow is essential for proper bow holding and technique. It allows violinists to have a better grasp of the instrument and how to use it effectively.
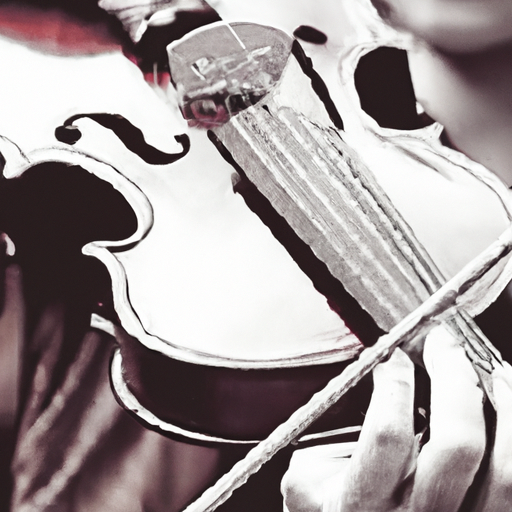
Many novice violinists make common mistakes in their bow grip, which can hinder their progress. Here is a step-by-step guide on how to hold the bow correctly:
Place the base of your thumb on the designated thumb area of the frog. The thumb should be relaxed and slightly bent.
Rest your middle and ring fingers on top of the frog, lightly touching the stick. The index finger should rest on the underside of the frog, providing stability and balance.
Keep the fingers naturally curved, avoiding any excessive tension. This allows for flexibility and control while playing.
The bow should be balanced on the index finger, with the thumb and little finger acting as support. This balanced grip ensures stability and control during bowing.
Proper bow grip is crucial for achieving a fluid and controlled sound. It takes time and practice to develop muscle memory and find the most comfortable grip for you.
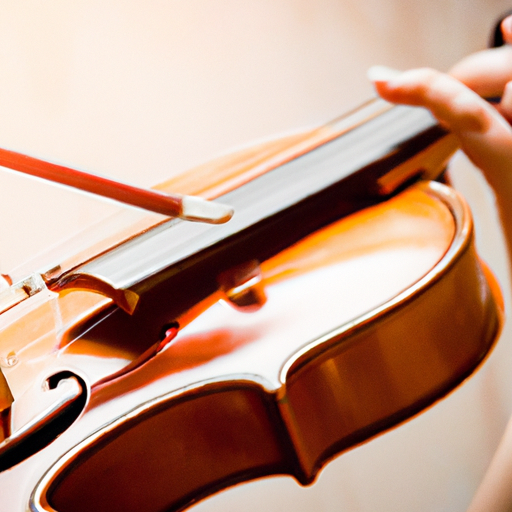
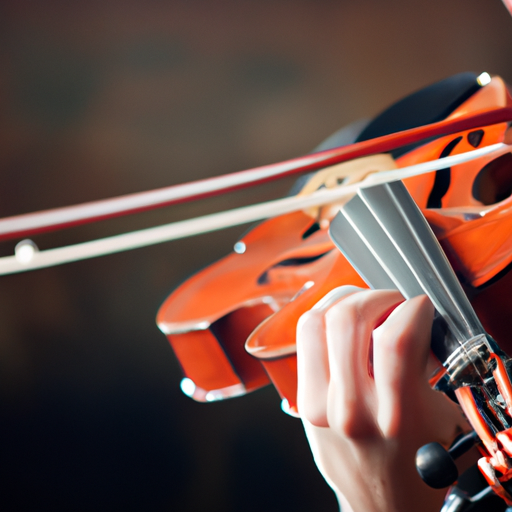
Once you have mastered the correct bow grip, it is equally important to position the bow correctly on the strings. Here are some tips to help you with this:
Place the bow on the strings between the bridge and fingerboard. The bow should be perpendicular to the strings, with the hair in contact with the strings.
The contact point refers to the area of the bow that touches the strings. Different contact points produce different tones. Experiment with different contact points to achieve the desired sound.
Keep the bow parallel to the bridge while maintaining a slight angle towards the fingerboard. This helps produce a clear and resonant sound.
Correct positioning of the bow on the strings allows for better control, tone production, and overall playability. It is an essential aspect of achieving a balanced and beautiful sound.
The pressure applied to the strings by the bow greatly affects the sound produced. Here are the different bow pressures and tips on how to apply the right amount:
Light pressure is used for producing softer dynamics, such as pianissimo. Apply minimal pressure to the strings, allowing the bow to glide smoothly.
Medium pressure is the most commonly used bow pressure. It produces a balanced and full sound. Apply enough pressure to create a clear and resonant tone.
Heavy pressure is used for producing louder dynamics, such as forte. Apply firm pressure to the strings, allowing for a powerful and intense sound.
Experiment with different bow pressures to understand their effect on the sound. Developing control over bow pressure allows for greater expressiveness in your playing.
Bow speed refers to the rate at which the bow moves across the strings. It greatly affects the dynamics, articulation, and tone production. Here are the different bow speeds and tips on how to control them:
Slow bow speed is used for producing legato and sustained notes. Move the bow slowly and evenly across the strings, allowing for a rich and smooth sound.
Medium bow speed is the most commonly used speed. It allows for a balanced and controlled sound. Maintain a consistent speed throughout your bow strokes.
Fast bow speed is used for producing staccato and spiccato notes. Move the bow quickly and lightly across the strings, allowing for a crisp and articulated sound.
Controlling bow speed requires coordination and practice. Experiment with different speeds to achieve the desired musical effect.
Basic bowing techniques are essential for producing different articulations and musical effects. Here are a few techniques and tips on how to apply them correctly:
For legato playing, maintain a smooth and continuous bow stroke. Connect the notes seamlessly to create a lyrical and flowing sound.
For staccato playing, use short and detached bow strokes. Lift the bow off the strings quickly between each note to create a precise and accented sound.
Martelé is a technique that emphasizes a strong and accented attack. Apply firm pressure at the beginning of each stroke to create a bold and powerful sound.
Mastering different bowing techniques allows for versatility and expression in your playing. Practice each technique slowly and gradually increase the speed.
Improving bow holding skills requires consistent practice. Here are some exercises to help you strengthen and refine your bow grip:
Hold the bow in the correct grip position without the violin. Practice bowing motions in the air, focusing on maintaining a relaxed and balanced grip.
Use a bow hold accessory or a pencil to correct any improper bow grip habits. Practice holding the accessory in the correct grip position for a few minutes each day.
Stand in front of a mirror and practice slow bowing motions while observing your bow grip. Make adjustments as needed to maintain the correct position.
Consistent practice with these exercises will help develop muscle memory and strengthen your bow holding technique.
Novice violinists often make common bow holding mistakes. Here are a few examples and tips on how to correct them:
A common mistake is gripping the bow too tightly, which restricts movement and affects sound quality. Focus on keeping a relaxed and loose grip.
Pressing the thumb too hard on the bow can cause tension and discomfort. Maintain a light and balanced contact with the thumb.
Straight fingers instead of curved fingers can result in a lack of control and flexibility. Practice keeping the fingers naturally curved while holding the bow.
Identifying and correcting these mistakes early on will prevent the development of bad habits and improve your overall playing technique.
Proper bow holding is a fundamental skill for any novice violinist. It affects sound quality, technique, and overall performance. By understanding the anatomy of the violin bow, mastering the correct bow grip, and practicing different bowing techniques, you can enhance your playing and expressiveness on the violin. Consistent practice, along with correcting common bow holding mistakes, will lead to improved sound production, injury prevention, and artistic growth. Remember, mastering the art of correct bow holding takes time, patience, and dedication, but the rewards are well worth the effort.