The violin is a beautiful and versatile instrument that has been captivating audiences for centuries. Whether you are a complete beginner or have some experience with other musical instruments, learning to play the violin can be a rewarding and fulfilling journey. In this comprehensive guide, we will take you through everything you need to know about getting started with the violin.
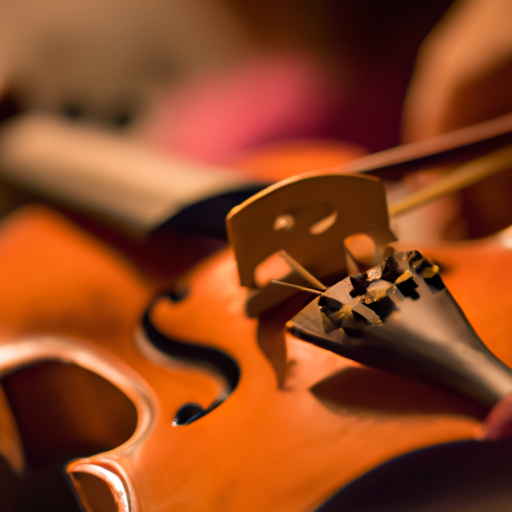
Before you embark on your violin journey, it's essential to understand the instrument's basics. The violin is a string instrument that consists of four strings, typically tuned to G, D, A, and E. Unlike other instruments, the violin is played by drawing a bow across the strings or plucking them with the fingers. The sound is produced by the vibrations of the strings, which resonate through the wooden body of the violin.

Learning to play the violin requires patience, dedication, and regular practice. It is crucial to build a strong foundation in the fundamentals before moving on to more advanced techniques. So, let's dive into the world of the violin and explore the various aspects of learning this captivating instrument.
One of the first steps in your violin journey is choosing the right instrument. For first-time buyers, it can be overwhelming to navigate the world of violins, especially with the wide range of options available. Here are some tips and tricks to help you make an informed decision:
Violins come in a wide range of prices, from affordable beginner models to high-end professional instruments. It's important to set a budget that suits your needs and expectations. While it's tempting to opt for the cheapest option, remember that a quality instrument is crucial for your progress and enjoyment on the violin.
It's worth considering renting a violin if you're unsure about committing to a purchase right away. Renting allows you to try out different instruments and gauge your interest in learning the violin before making a long-term investment.
When choosing a violin, it's essential to try out several options before making a decision. Visit a reputable music store or consult with a violin teacher who can guide you in selecting the right instrument for your needs. Each violin has a unique tone and feel, so it's crucial to find one that resonates with you.
During your trial, pay attention to the sound quality, ease of playability, and overall comfort of the violin. Remember, the instrument should feel comfortable in your hands and produce a pleasant sound when played.
Violins come in different sizes to accommodate players of all ages and body types. Make sure to choose a violin size that is appropriate for you or your child. A violin that is too big or too small can hinder your progress and make learning difficult.
If you're unsure about the size, consult with a violin teacher or music store professional who can assess your needs and provide recommendations.
Choosing the right violin is a personal decision, and it's crucial to take your time and explore various options before making a purchase. A quality instrument will not only enhance your learning experience but also inspire you to practice and improve.
Now that you have your violin, it's time to dive into the essential techniques for playing the instrument. Mastering these techniques will lay the foundation for your violin journey and enable you to play beautiful music.
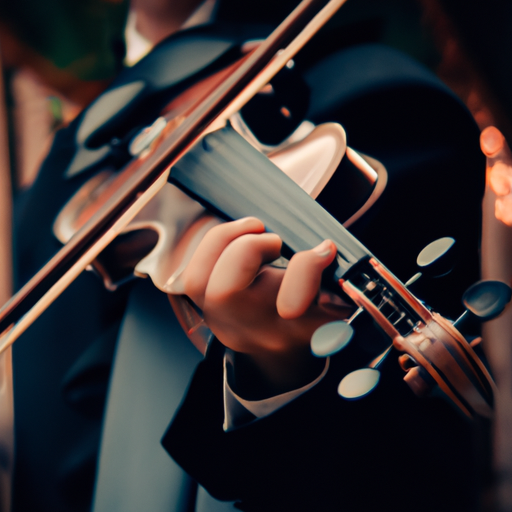
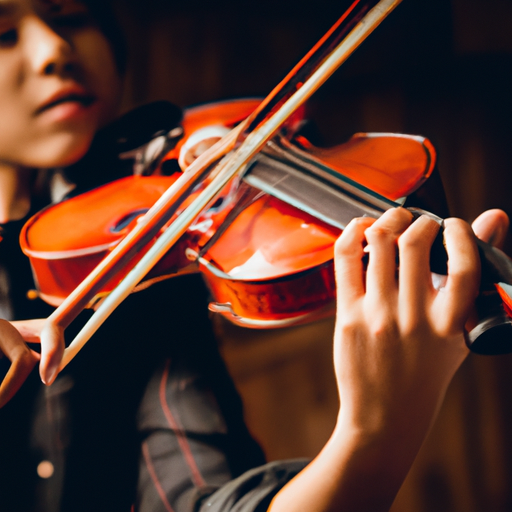
The first technique to focus on is how to hold the violin. Start by resting the violin on your left shoulder, using your chin and left hand to support it. The left hand should hold the neck of the violin, with the thumb resting against the back of the neck for stability.
Your right hand will be responsible for holding the bow. The bow should be held between the thumb and fingers, with the pinky resting on top for balance. It's essential to maintain a relaxed and natural grip to achieve a smooth and controlled bowing motion.
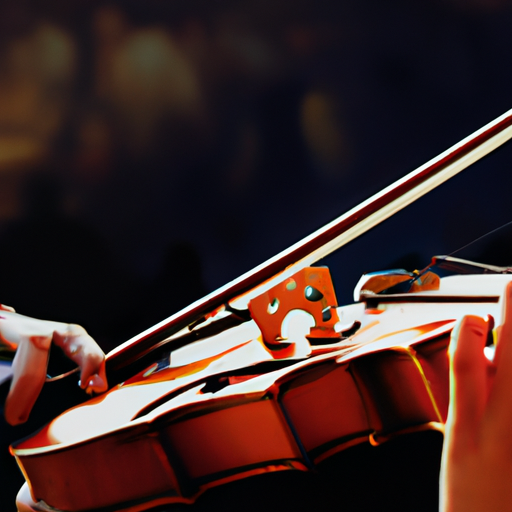
To produce a sound on the violin, you will need to draw the bow across the strings. Start by placing the bow on the strings near the bridge, with a slight angle towards the fingerboard. Apply even pressure and draw the bow across the strings, using your arm and wrist to create a fluid motion.
It's important to maintain a consistent bow speed and pressure to achieve a clear and resonant sound. Experiment with different bowing techniques, such as long bow strokes and short staccato strokes, to develop control and versatility in your playing.
The next technique to focus on is finger placement on the fingerboard. Each finger corresponds to a specific note, and precise placement is essential for playing in tune. Beginners often use tape or markers on the fingerboard to guide their finger placement until they develop a sense of intonation.
As you progress, you will learn to rely on your ears and muscle memory to find the correct notes. Regular practice and ear training exercises will help you develop a keen sense of intonation and play in tune.
In addition to finger placement, the left hand position is crucial for proper technique and control. The hand should be relaxed and curved, with the fingers hovering over the fingerboard. Avoid gripping the neck of the violin or tensing up, as this can hinder your playing.
As you advance, you will learn shifting, which involves moving your hand up and down the fingerboard to reach higher or lower notes. Shifting requires precise hand coordination and a gradual transition to maintain accuracy and intonation. Regular practice and guidance from a violin teacher will help you develop this skill.
These are just a few essential techniques for playing the violin. Remember, practice is key to mastering these techniques and becoming a proficient violin player. Take your time, be patient with yourself, and enjoy the process of learning and making music on the violin.
In addition to the techniques mentioned above, proper posture and bow hold are crucial aspects of violin playing. Developing good habits from the beginning will not only help prevent injuries but also enhance your sound and technical abilities.
When playing the violin, it's important to maintain a balanced and relaxed posture. Stand or sit up straight, with your feet planted firmly on the ground or footstool if sitting. Your head should be in a neutral position, with your chin resting on the chin rest of the violin.
Keep your shoulders relaxed and avoid tensing up. Tension in the shoulders can restrict your range of motion and affect your playing. Regular stretching exercises and shoulder relaxation techniques can help alleviate tension and promote a more fluid playing experience.
The bow hold is another crucial aspect of violin playing. A proper bow hold allows for control, precision, and a beautiful sound. Here's a step-by-step guide to achieving a correct bow hold:
Practicing bowing exercises and focusing on maintaining the correct bow hold will help you develop a smooth and controlled bowing technique. Regular feedback from a violin teacher can also be invaluable in refining your bowing technique and achieving a beautiful sound.
Reading sheet music is an essential skill for any musician, and the violin is no exception. Learning to read sheet music will open up a world of possibilities and enable you to play a wide range of musical genres. Here's a step-by-step guide to help you get started:
The staff is the foundation of sheet music and consists of five horizontal lines. Each line and space on the staff represents a different note. The placement of notes on the staff indicates their pitch, with higher notes positioned higher on the staff and lower notes positioned lower.
The lines and spaces on the staff correspond to specific notes. The lines, from bottom to top, represent the notes E, G, B, D, and F (Easter Bunny Gets Drunk At Easter). The spaces, from bottom to top, represent the notes F, A, C, and E (FACE).
Notes on the staff are represented by different shapes and symbols. The two most common note shapes are the filled-in circle (quarter note) and the hollow circle (half note). The position of the note on the staff indicates its pitch.
In addition to the note shape, there are also symbols called accidentals, which modify the pitch of a note. The sharp (#) raises the pitch by a half step, while the flat (b) lowers the pitch by a half step. The natural sign (♮) cancels out a sharp or flat.
Sheet music also includes rhythm and time signatures, which indicate the rhythm and timing of the music. The time signature is indicated by two numbers stacked vertically. The top number represents the number of beats per measure, while the bottom number indicates the type of note that receives one beat.
For example, a time signature of 4/4 indicates that there are four beats per measure, and the quarter note receives one beat. A time signature of 3/4 indicates three beats per measure, with the quarter note still receiving one beat.
Learning to read sheet music takes time and practice. Start by familiarizing yourself with the notes on the staff and their corresponding positions on the violin. Practice identifying the notes on the staff and playing them on the violin.
As you progress, you can start incorporating rhythm and time signatures into your practice routine. Start with simple exercises and gradually work your way up to more complex pieces of music.
Remember, learning to read sheet music is a skill that develops over time. Be patient with yourself and take it one step at a time. With regular practice and guidance from a violin teacher, you will become more comfortable and proficient in reading sheet music.
Regular practice is the key to improving on the violin. Here are some tips and strategies to help you make the most out of your practice sessions:
Before each practice session, set specific goals for what you want to achieve. Whether it's learning a new piece, improving a specific technique, or working on intonation, having a clear focus will make your practice time more productive.
Break down your goals into smaller, manageable tasks. This will help you track your progress and stay motivated as you achieve each milestone.
Consistency is key when it comes to practicing the violin. Establish a regular practice routine and stick to it as much as possible. It's better to practice for shorter periods every day than to have long practice sessions once in a while.
Find a time of day that works best for you and commit to practicing during that time. Creating a habit will make it easier to stay consistent and make progress on the violin.
Before diving into your practice routine, it's important to warm up your muscles and prepare your body for playing. Start with gentle stretches and exercises to loosen up your fingers, wrists, and arms.
Playing long tones or scales can also serve as a warm-up exercise, helping you focus on your sound and intonation from the start.
When learning new techniques or pieces, it's important to practice slowly and deliberately. Take your time to understand the mechanics of the technique and focus on accuracy and precision.
As you become more comfortable, gradually increase the tempo. It's better to play slowly and correctly than to rush through a piece and develop bad habits.
Recording yourself during practice sessions can be a valuable tool for self-assessment. Listen back to your recordings and evaluate your playing objectively. Pay attention to areas that need improvement and make adjustments accordingly.
Recording yourself also allows you to track your progress over time and celebrate your achievements along the way.
A qualified violin teacher can provide valuable guidance and feedback on your playing. They can help you identify areas for improvement, provide technical advice, and guide you through challenging pieces.
Consider taking regular lessons with a violin teacher to supplement your practice routine. They can tailor their instruction to your specific needs and help you progress faster on the violin.
Scales and arpeggios are foundational elements of music theory and essential for developing technique on the violin. Understanding and practicing scales and arpeggios will improve your finger dexterity, intonation, and knowledge of key signatures. Here's a beginner's guide to get you started:
In music, a scale is a sequence of notes arranged in ascending or descending order. Scales are based on specific patterns of whole steps (W) and half steps (H) and are named after the starting note or key.
The most common scales in Western music are the major and minor scales. Major scales have a happy and bright sound, while minor scales have a more melancholy or introspective feel.
To construct a major scale, follow this pattern of whole steps and half steps: W-W-H-W-W-W-H. For example, to play the C major scale on the violin, start on the open G string and follow this pattern:
Practice playing the C major scale in different positions and on different strings to develop familiarity with the pattern and improve your intonation.
Minor scales have a different pattern of whole steps and half steps: W-H-W-W-H-W-W. The natural minor scale is the most basic form of the minor scale.
For example, to play the A natural minor scale on the violin, follow this pattern:
Like major scales, practice playing the A natural minor scale in different positions and on different strings to improve your technique and intonation.
An arpeggio is a broken chord, played one note at a time. Arpeggios are an essential tool for developing finger strength, control, and coordination on the violin.
Arpeggios are based on the notes of a chord and are typically played in a specific pattern, such as ascending or descending. The most common arpeggios in Western music are the major and minor arpeggios.
To construct a major arpeggio, start with a major chord and play the notes one at a time. For example, to play the C major arpeggio on the violin, follow this pattern:
Practice playing the C major arpeggio in different positions and on different strings to develop finger strength and control.
Minor arpeggios are based on minor chords and have a slightly different pattern. For example, to play the A minor arpeggio on the violin, follow this pattern:
Like major arpeggios, practice playing the A minor arpeggio in different positions and on different strings to improve your technique and finger coordination.
Regular practice of scales and arpeggios will help you become more familiar with the fingerboard, improve your intonation, and develop technical proficiency on the violin. Experiment with different scales and arpeggios to expand your musical repertoire and enhance your playing.
Learning to play the violin is a journey that requires time, patience, and dedication. As a beginner, it's important to be aware of common mistakes that can hinder your progress and development on the instrument. Here are some common mistakes to avoid when learning the violin:
Building a strong foundation is crucial for long-term success on the violin. It's essential to start with the basics, such as proper posture, bow hold, and finger placement. Skipping these fundamental skills can lead to bad habits and technical limitations down the road.
Take your time to master the basics before moving on to more advanced techniques. Regular feedback from a violin teacher can help ensure that you are developing proper technique from the start.
Practicing is essential for progress on the violin, but practicing incorrectly can be counterproductive. It's important to practice with focus, intention, and attention to detail.
Take the time to identify areas that need improvement and break them down into smaller, manageable tasks. Practice slowly and deliberately, paying attention to accuracy and precision. Regular evaluation and feedback from a violin teacher can help you stay on track and correct any mistakes.
Proper posture and technique are crucial for playing the violin with ease and efficiency. Ignoring posture and technique can lead to tension, discomfort, and limited range of motion.
Make sure to maintain a balanced and relaxed posture, both when sitting and standing. Pay attention to your bow hold, finger placement, and hand position. Regular self-assessment and feedback from a violin teacher can help you develop proper posture and technique.
Warming up your muscles and preparing your body for playing is essential to prevent injuries and promote a relaxed playing experience. Skipping warm-up exercises can lead to tension and strain on the muscles and joints.
Take a few minutes at the beginning of each practice session to stretch your fingers, wrists, and arms. Play long tones or scales to warm up your fingers and focus on your sound and intonation from the start.
Every violinist progresses at their own pace, and comparing yourself to others can be discouraging and demotivating. Focus on your own progress and celebrate your achievements, no matter how small they may seem.
Remember that learning the violin is a personal journey, and everyone has their own unique challenges and strengths. Embrace the process and enjoy the music you create along the way.
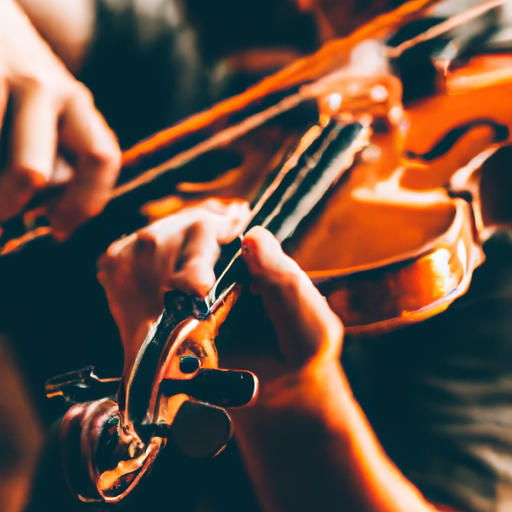
Keeping your violin in tune is essential for producing a pleasant sound and playing in tune with other musicians. Here's a beginner's guide on how to tune your violin:
One of the easiest ways to tune your violin is by using a tuning app or electronic tuner. These devices use sound waves to detect the pitch of each string and provide visual or audio feedback to help you tune accurately.
Download a tuning app on your smartphone or invest in a dedicated electronic tuner. Place your violin in a quiet environment, pluck each string, and adjust the tuning pegs until the app or tuner indicates that the string is in tune.
If you don't have access to a tuning app or electronic tuner, you can tune your violin using a pitch pipe or keyboard. A pitch pipe provides a reference pitch for each string, and you can match the pitch by adjusting the tuning pegs.
If you have access to a keyboard or piano, you can use the notes E, A, D, and G as a reference for each string. Play the corresponding note on the keyboard or piano and adjust the tuning pegs until the pitch matches.
Harmonics are another method for tuning your violin. Harmonics are produced by lightly touching the string at specific nodal points while bowing or plucking the string.
To tune with harmonics, lightly touch the string at the halfway point (the 12th fret) and bow the string. Compare the pitch of the harmonic with the open string. Adjust the tuning pegs as needed until the harmonic matches the open string pitch.
Most violins have fine-tuning adjusters (also known as fine tuners) located on the tailpiece. These adjusters allow for small and precise adjustments in pitch without the need to turn the tuning pegs.
If your violin has fine tuners, use them to make small adjustments to the pitch after initially tuning with the tuning pegs. Turn the fine tuner clockwise to raise the pitch and counterclockwise to lower the pitch.
If your violin does not have fine tuners, you can install them or use a tailpiece with built-in fine tuners for easier tuning.
Regular tuning is essential to maintain the integrity of your violin's sound and play in tune with other musicians. Make tuning part of your regular practice routine and develop an ear for correct pitch.
A qualified violin teacher can make a world of difference in your violin journey. They can provide guidance, support, and personalized instruction to help you achieve your musical goals. Here are some tips for finding the right violin teacher:
Before searching for a violin teacher, consider your goals and needs as a student. Do you want to learn classical violin, or are you interested in other genres such as jazz or folk? Are you a beginner or an intermediate player looking to improve specific techniques?
Having a clear understanding of your goals and needs will help you find a violin teacher who specializes in the areas you want to focus on.
Reach out to your local music community, friends, or fellow violinists for recommendations. Personal recommendations can provide valuable insights into the teaching style, personality, and effectiveness of a violin teacher.
Consider attending local concerts or recitals to observe different violin teachers in action. This will give you an idea of their teaching style and the progress of their students.
When evaluating potential violin teachers, research their qualifications, experience, and educational background. Look for teachers who have formal training in violin pedagogy or performance.
It's also worth considering a teacher's performance experience and repertoire. A teacher who has performed professionally can offer valuable insights into musical interpretation and style.
Before committing to regular lessons, arrange a trial lesson with potential violin teachers. This will give you an opportunity to meet the teacher, observe their teaching style, and assess their compatibility with your learning style.
During the trial lesson, pay attention to the teacher's communication skills, patience, and ability to provide constructive feedback. A good teacher should be able to explain concepts clearly and adapt their teaching approach to your individual needs.
Establishing a connection with your violin teacher is essential for a productive and enjoyable learning experience. Find a teacher who inspires and motivates you, and with whom you feel comfortable asking questions and seeking guidance.
Building a positive and supportive relationship with your teacher will make the learning process more enjoyable and foster a lifelong love of the violin.
Remember, finding the right violin teacher is a personal decision, and it may take time to find the perfect match. Be patient and open to exploring different teaching styles and approaches. With the right teacher by your side, you will be on your way to becoming a skilled and accomplished violinist.