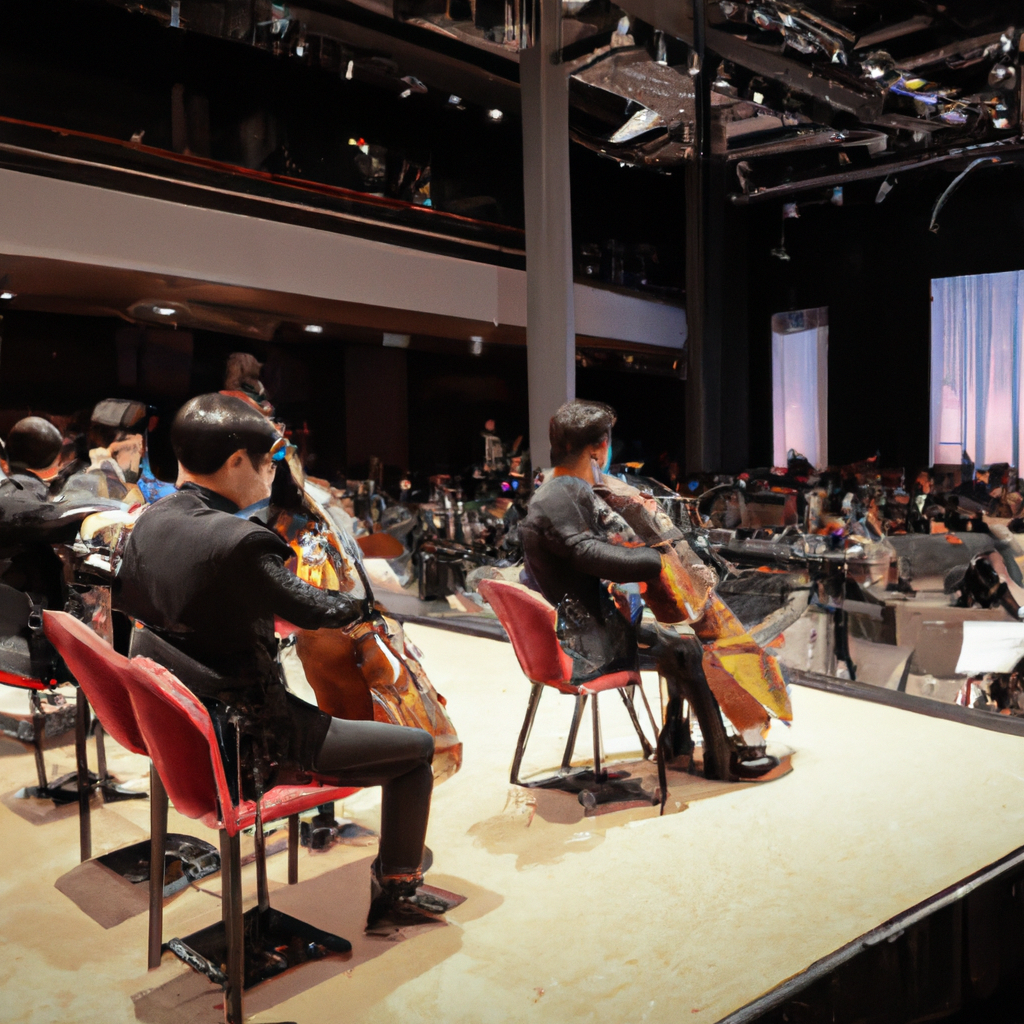
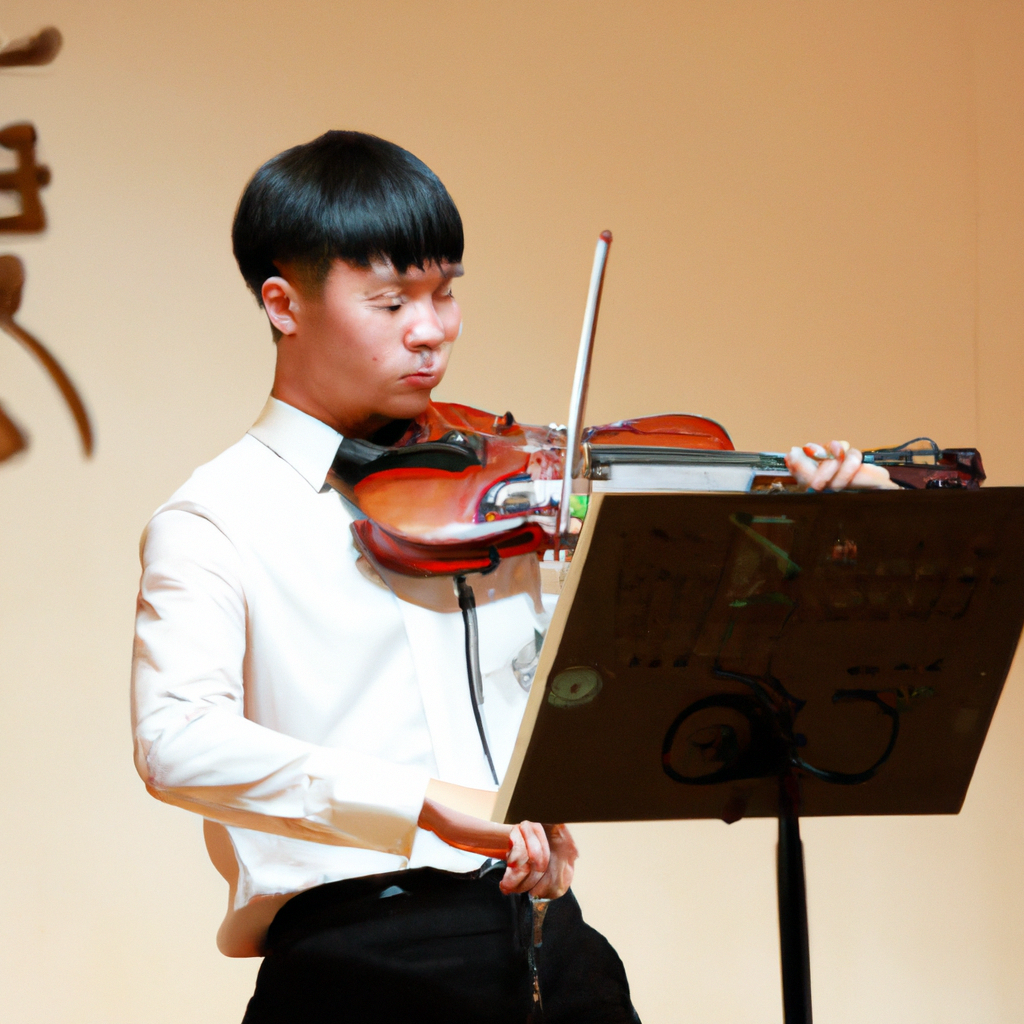
Violin technique is crucial for any aspiring violinist. It is the foundation upon which all other aspects of violin playing are built. A solid technique allows the violinist to produce a beautiful and expressive tone, execute intricate passages with ease, and perform challenging pieces with confidence.

Developing good violin technique requires dedication, discipline, and regular practice. It involves mastering various fingerings, positions, bowing techniques, and the coordination of both hands. Without a solid technical foundation, a violinist will struggle to perform at their full potential.

Violin fingerings refer to the placement of the fingers on the fingerboard to produce different notes. The fingerings are determined by the intervals between the notes, and they can be categorized into three main types: first position, shifting positions, and advanced fingerings.

First position is the most basic fingering, where the fingers are placed directly on the fingerboard. Shifting positions involve moving the hand to higher positions on the fingerboard to access higher notes. Advanced fingerings include techniques such as double stops, vibrato, and harmonics.
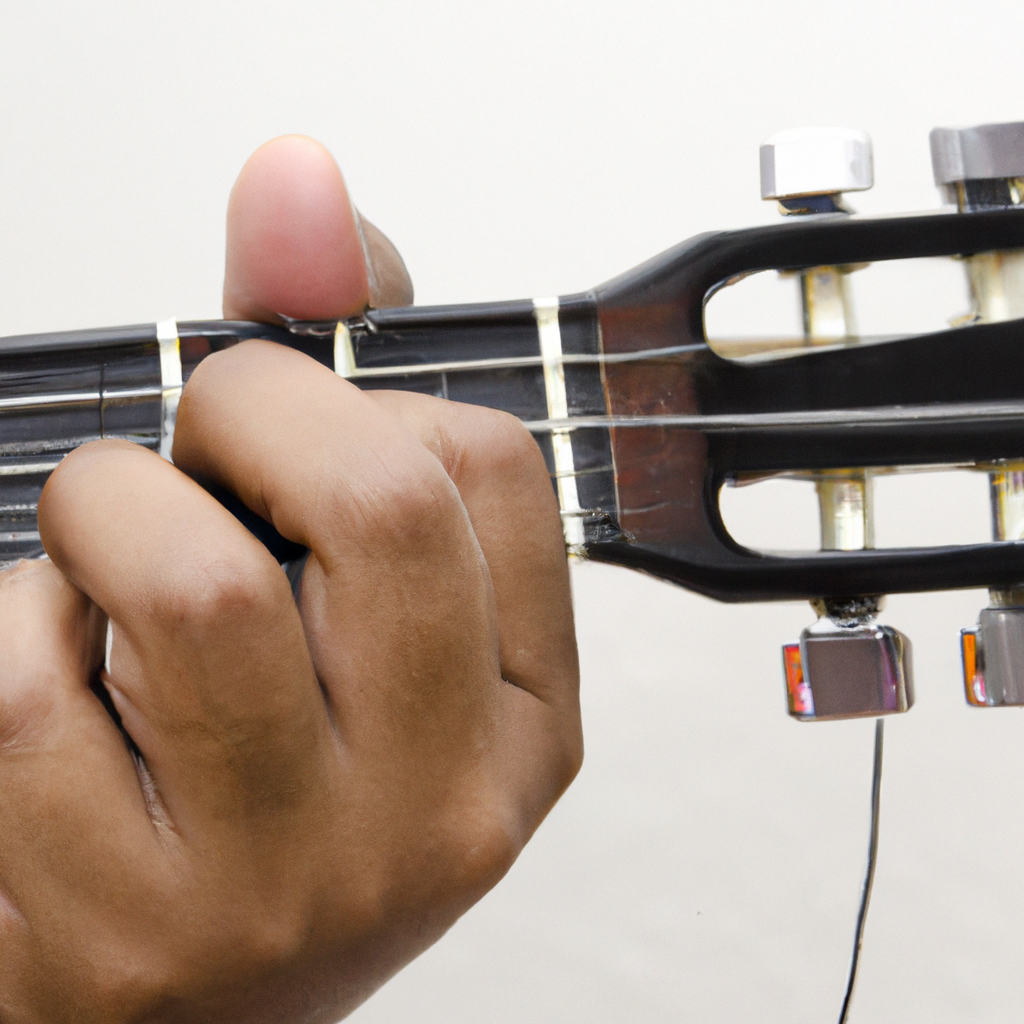
In first position, the first finger is placed just behind the first fret, creating a half-step interval. This is the most natural position for the hand and allows for easy access to the lower notes on the violin.
The second finger is placed just behind the second fret, creating a whole-step interval. This finger is slightly longer than the first finger and requires more accuracy and control.
The third finger is placed just behind the third fret, creating another whole-step interval. This finger is shorter than the second finger, so proper finger placement is crucial to avoid intonation issues.
The fourth finger is placed just behind the fourth fret, creating a half-step interval. This finger is the shortest and requires careful placement to produce accurate intonation.
Half position is the first shifting position on the violin. The hand moves slightly up the fingerboard, allowing access to higher notes. Shifting to half position requires a smooth and controlled movement of the hand.
Third position is another common shifting position. The hand moves further up the fingerboard, allowing access to even higher notes. Shifting to third position requires precise finger placement and coordination with the bow hand.
Fifth position is a higher shifting position, often used in advanced repertoire. Shifting to fifth position requires accurate finger placement and a solid understanding of the fingerboard geography.
Higher positions refer to positions above fifth position. Shifting to these positions requires even more precise finger placement and a thorough knowledge of the fingerboard.
Double stops involve playing two notes simultaneously on the violin. They are commonly used in harmonies, chords, and in creating a fuller and richer sound. Mastering double stops requires accurate finger placement and coordination of both hands.
There are various fingerings for double stops, depending on the interval between the two notes. Common double stop fingerings include thirds, fourths, fifths, and octaves. These fingerings require precise finger placement and control of the bow.
Vibrato is a technique used to add depth, warmth, and expression to the sound produced by the violin. It involves oscillating the pitch of a note by quickly rocking the finger back and forth on the fingerboard.
Basic vibrato technique starts with a relaxed hand and forearm. The motion is initiated from the wrist, and the finger rolls back and forth on the string, creating a gentle vibrato effect.
Advanced vibrato technique involves developing a wider and more controlled vibrato. This requires flexibility and strength in the hand and fingers, as well as a deep understanding of the musical context in which vibrato is used.
Natural harmonics are produced by lightly touching the string at specific nodal points, creating a bell-like tone. They are indicated by diamond-shaped notes on sheet music. Mastering natural harmonics requires precise finger placement and a light touch.
Artificial harmonics involve combining a stopped note with a harmonic note, creating a higher-pitched sound. They are indicated by a small circle above the note on sheet music. Artificial harmonics require accurate finger placement and control of the bow.
Intonation refers to playing in tune. It is one of the most challenging aspects of violin playing. To improve intonation, it is important to develop a keen ear and practice regularly with a tuner or piano. Listening to recordings and playing in ensemble settings can also help develop good intonation.
Common intonation problems include playing sharp or flat. Sharp intonation occurs when the finger is placed too close to the bridge, while flat intonation occurs when the finger is placed too far from the bridge. Regular practice, careful listening, and adjusting finger placement can help correct intonation issues.
Proper finger placement is crucial for producing accurate intonation and avoiding fingerboard buzzing. The fingers should be placed on the fingerboard with the fingertips slightly curved, ensuring that they press the string down firmly and are positioned just behind the desired fret.
Fingerboard buzzing can occur when the fingers are not pressing the strings down firmly or when the fingertips are touching adjacent strings. To eliminate fingerboard buzzing, it is important to maintain proper finger placement, use the right amount of finger pressure, and adjust the angle of the hand and fingers as needed.
Tension in the left hand can restrict finger movement, impede intonation, and cause discomfort or pain. Signs of left hand tension include a tight grip on the violin, curled fingers, and excessive pressure on the fingerboard.
Relaxation is key to developing a healthy and efficient left hand technique. Techniques for promoting relaxation include regular breaks during practice sessions, stretching exercises for the hand and fingers, and mindful awareness of tension buildup while playing.
Developing a strong and proficient violin technique requires regular practice and patience. Consistent practice allows the violinist to build muscle memory, improve finger dexterity, and develop a deep understanding of the instrument. Patience is required as progress may be slow at times, but with perseverance, the results will be rewarding.
Learning violin technique is an ongoing process. Even advanced violinists continue to work on refining their technique and addressing any weaknesses or challenges. Through continued practice, study, and guidance from a qualified teacher, violinists can continually improve their technique and unlock their full potential as musicians.