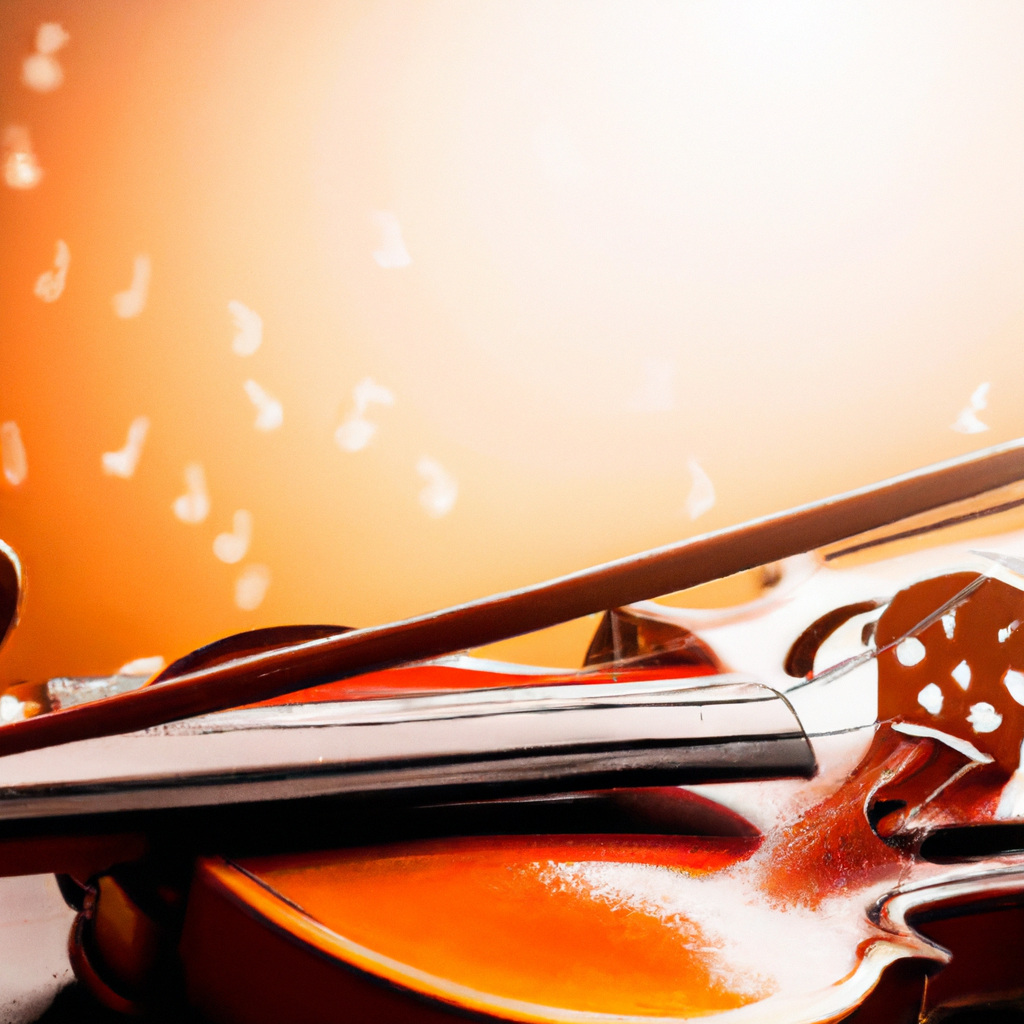
The violin is a beautiful and versatile instrument that has been used for centuries to create enchanting melodies. Whether you dream of playing classical masterpieces or modern pop songs, learning the violin is a rewarding and fulfilling journey. In this comprehensive guide, we will take you through all the essential steps to get started on your violin-playing adventure.
The violin is a four-stringed instrument that belongs to the string family. It is played by drawing a bow across the strings or plucking them with the fingers. The sound is produced through the vibrations of the strings, which resonate through the body of the violin.
Learning to play the violin has numerous benefits for beginners. It helps improve coordination, finger dexterity, and concentration. Playing the violin also promotes discipline, patience, and perseverance. Additionally, it provides a creative outlet and can be a source of great joy and self-expression.
When starting your violin journey, it is essential to choose the right instrument that suits your needs and preferences. Here are some factors to consider when selecting a violin.
There are different types of violins available, ranging from student models to professional-grade instruments. Student violins are suitable for beginners and are usually more affordable. Intermediate and professional violins have higher quality craftsmanship and produce better sound but come at a higher price.
When choosing a violin, consider factors such as sound quality, playability, and durability. It is also important to try out different violins to find one that feels comfortable in your hands and suits your playing style. Consulting with a violin teacher or an expert can be helpful in making an informed decision.
You can buy or rent a violin from various sources such as music stores, online retailers, or even directly from luthiers. It is recommended to visit a physical store and try out different instruments before making a purchase. Renting a violin is a cost-effective option for beginners who are unsure about long-term commitment.
In addition to the violin itself, there are several accessories that are essential for violin players. These accessories enhance the playing experience and help maintain the instrument's condition.
The bow is a crucial part of playing the violin. It is made of horsehair stretched between a stick and a frog. The bow is used to produce sound by drawing it across the strings. Good quality bows are typically made from Brazilwood, Pernambuco, or carbon fiber.
Rosin is a sticky substance applied to the bow hair to create friction with the strings. This improves the sound production and prevents the bow from slipping. It is important to choose rosin suitable for violin bows and apply it regularly to maintain optimal sound quality.
A shoulder rest is a padded device that attaches to the back of the violin. It rests on the shoulder to provide support and increase comfort while playing. Shoulder rests come in various sizes and designs, and it is important to find one that fits your body shape and playing style.
A tuner is a small electronic device used to ensure that the violin is in tune. It detects the pitch of the strings and provides visual or audio feedback to help you adjust the tuning accurately. Tuners are especially useful for beginners who are still developing their ear for pitch.
A sturdy and protective case is essential for storing and transporting your violin safely. Violin cases come in various sizes and materials, with features such as storage compartments for accessories and a humidity control system to protect the instrument from damage.
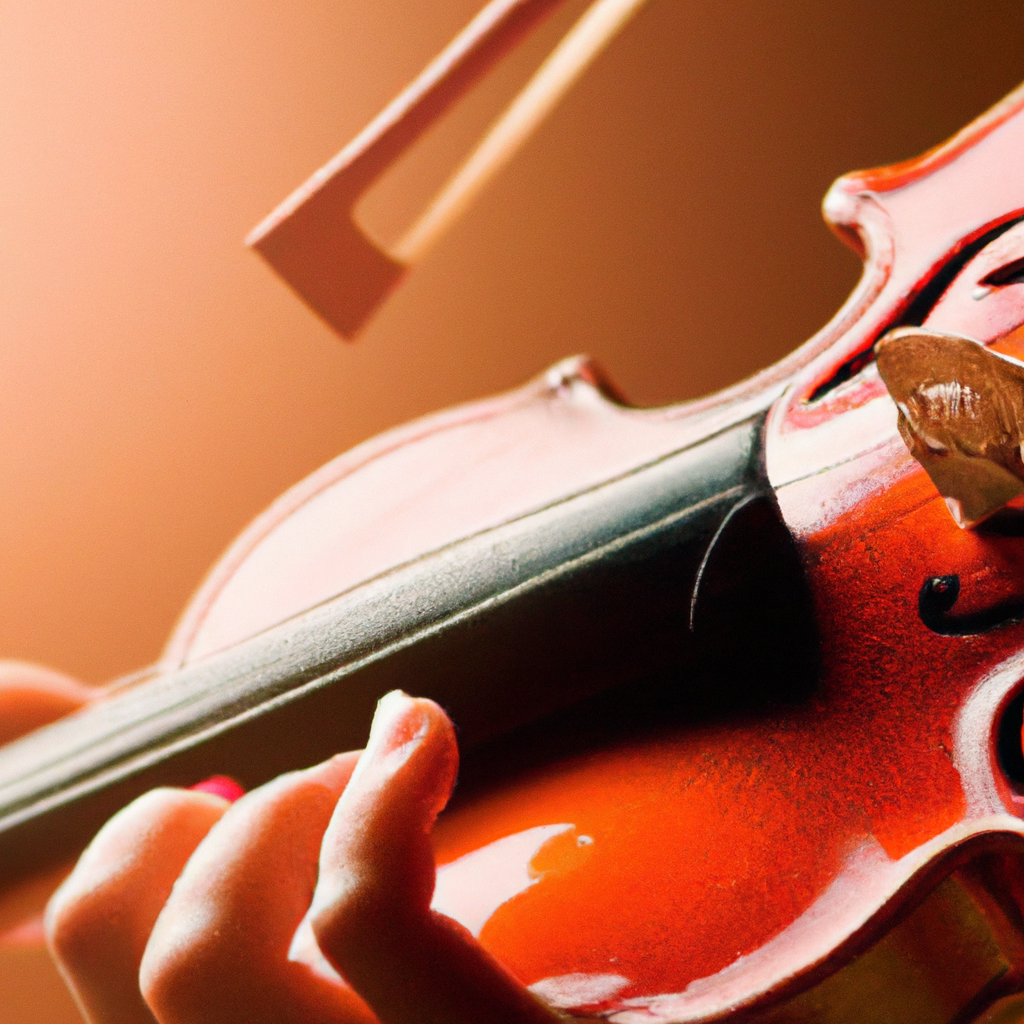
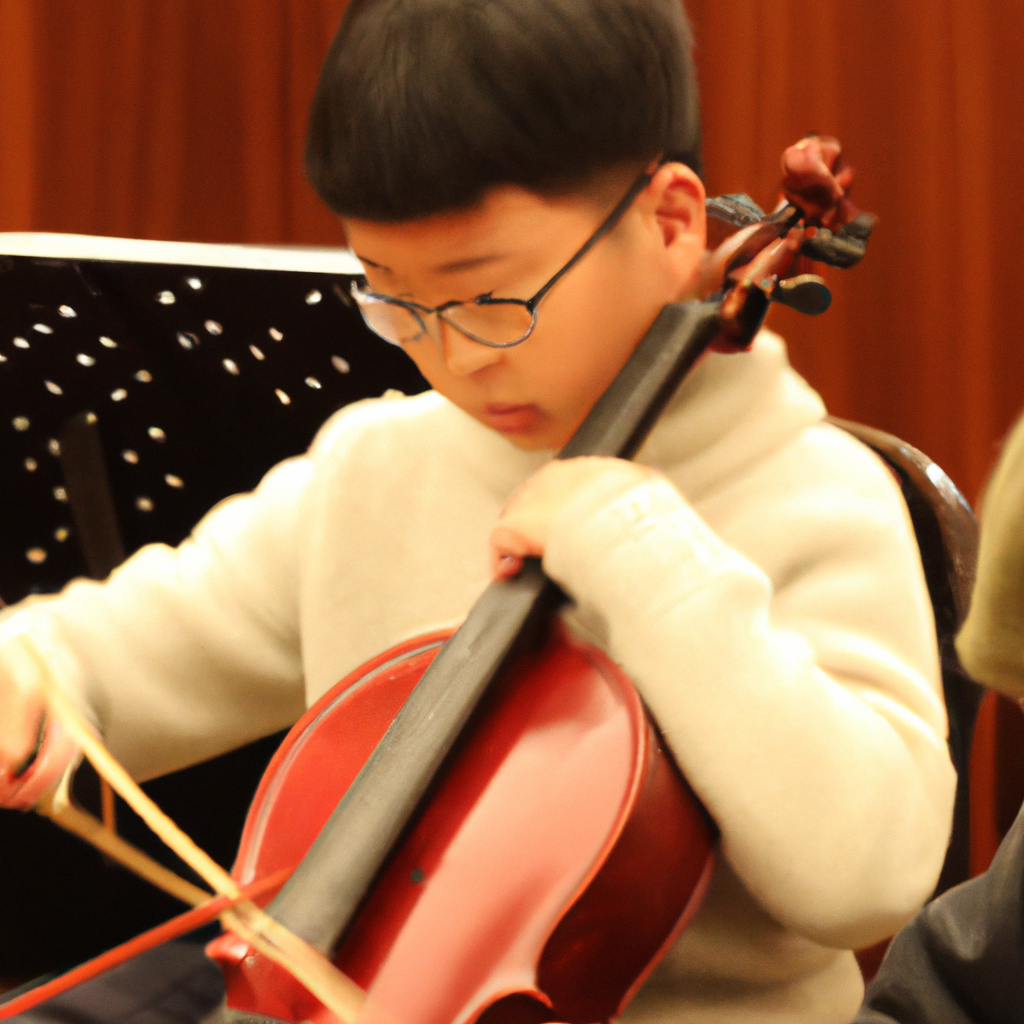
Proper posture and holding the violin are crucial for playing with ease and preventing injuries. Here are some guidelines to follow for correct positioning.
Sit or stand up straight with your shoulders relaxed. Hold the violin with your left hand, placing the neck of the violin between the base of your left-hand thumb and the fleshy part of your palm. The left-hand fingers should be curved and lightly touching the fingerboard.
Hold the violin firmly but not too tightly with your chin resting on the chinrest. The chinrest helps stabilize the violin and prevents it from slipping. Experiment with different chinrest positions to find one that is comfortable for you.
Hold the bow in your right hand with your thumb resting on the side and your fingers curled around the stick. The pinky finger should be resting on the silver winding of the bow. The bow hair should be parallel to the bridge and positioned between the bridge and fingerboard.
To become a proficient violin player, it is important to understand the different parts of the instrument and their functions.
The violin consists of several main parts, including the body, neck, scroll, fingerboard, bridge, soundholes, and tailpiece. Each part contributes to the overall sound production and playability of the instrument.
The body of the violin amplifies the sound vibrations produced by the strings. The neck and fingerboard provide a surface for the left-hand fingers to press the strings against. The bridge holds the strings in place and transfers the vibrations to the body. The soundholes allow the sound to escape from the body, and the tailpiece holds the fine tuners and secures the strings.
Tuning the violin is a crucial step before playing. Here's why tuning is important and how to tune your instrument.
Tuning ensures that the violin strings are at the correct pitch, allowing you to play in tune with other musicians or recorded music. Playing the violin out of tune can result in dissonance and an unpleasant sound.
There are several tuning methods, including using a piano, a tuning fork, or another instrument as a reference. The most common tuning for the violin is G-D-A-E, from lowest to highest string. It is important to develop your ear for pitch and train yourself to recognize when the strings are in tune.
A tuner can be a helpful tool, especially for beginners. It provides visual feedback on the pitch of each string and helps you adjust the tuning accurately. Simply pluck each string and adjust the pegs or fine tuners until the tuner indicates that the string is in tune.
Mastering basic violin techniques is essential for producing a beautiful and expressive sound. Here are some fundamental techniques to focus on.
The bowing technique involves drawing the bow across the strings to produce sound. It is important to practice maintaining a consistent bow grip, applying the right amount of pressure, and maintaining a straight bowing path parallel to the bridge.
Proper finger placement refers to placing the fingers of the left hand on the fingerboard in the correct positions to produce specific notes. Beginners should focus on developing finger strength, accuracy, and agility.
The violin has four strings: G, D, A, and E. Each string has a different pitch and requires different finger placement. Beginners should practice playing scales and simple melodies on each string to familiarize themselves with the unique characteristics of each one.
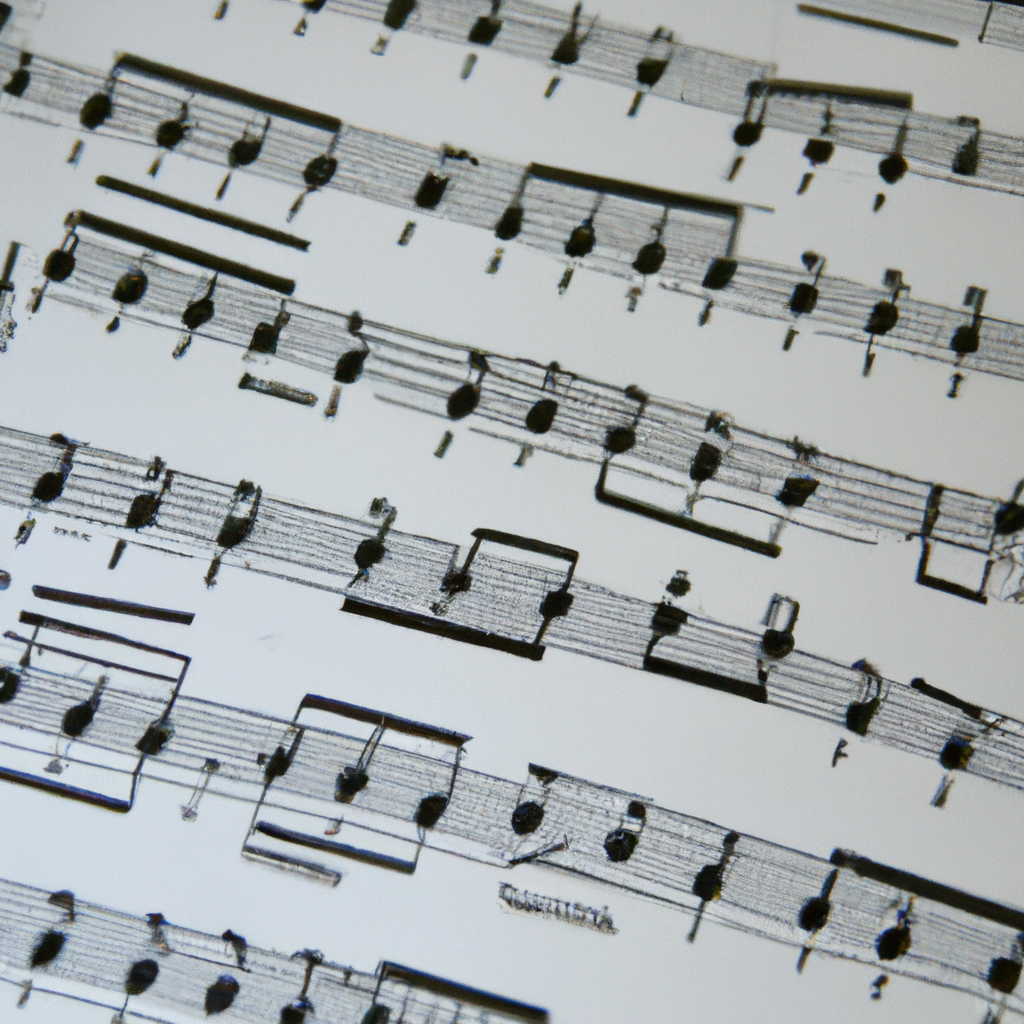
Reading sheet music is an essential skill for violin players. It allows you to interpret and play music written by others. Here's an introduction to music notation and how to read sheet music.
Music notation is a system of symbols used to represent pitch, rhythm, dynamics, and other musical elements. The staff, clefs, notes, rests, and various symbols are used to convey the musical information to the performer.
Notes represent the pitch and duration of a sound, while rests indicate periods of silence. Other symbols such as accidentals, dynamics, and articulations provide additional information about how to perform the music.
Start by practicing simple sheet music examples with a limited range of notes and rhythms. Gradually progress to more complex pieces as you become more comfortable with reading and playing sheet music.
Playing the first notes on the violin can be an exciting milestone for beginners. Here's how to position your fingers and practice basic scales.
Start with the open strings and practice placing your fingers on the fingerboard to produce the notes G, D, A, and E. Pay attention to proper finger placement and intonation accuracy.
Scales are an important foundation for violin technique. Start with the G major scale, which uses open strings and the first finger. Gradually explore other scales and arpeggios as you progress.
Mastering basic bowing techniques is essential for producing a smooth and expressive sound on the violin. Here are some exercises to practice.
Practice bowing exercises such as long bows, short bows, and detache to develop control and consistency in your bowing technique. Focus on maintaining a straight bowing path and even pressure on the strings.
Different bowing techniques are used to produce various types of notes, such as staccato, spiccato, and legato. Experiment with different bow speeds, pressures, and contact points to achieve the desired sound quality.
Building finger dexterity and strength is crucial for playing the violin with ease and accuracy. Here are some exercises to improve your finger technique.
Practice finger exercises and warm-ups to develop finger independence, strength, and coordination. These exercises can include trills, finger lifts, and various finger patterns on the fingerboard.
As you become more comfortable with basic finger placements, gradually challenge yourself with more complex finger patterns, shifting positions, and double stops. This will expand your technical abilities and repertoire.
Developing a practice routine is essential for consistent progress on the violin. Here's why regular practice is important and how to create a structured practice schedule.
Regular practice helps build muscle memory, reinforce technique, and develop a deeper understanding of music. It is better to practice for shorter periods daily than to have infrequent, lengthy practice sessions.
Create a practice schedule that includes warm-ups, technical exercises, repertoire practice, and sight-reading. Set specific goals for each practice session and track your progress over time.
Beginners may encounter common problems while learning the violin. Here are solutions for troubleshooting some of these issues.
Ensure that you are applying enough pressure with the bow while maintaining a relaxed grip. Practice proper bowing technique and experiment with bow placement to avoid the bow slipping off the strings.
Squeaking or scratching sounds can occur due to improper bow placement, excessive pressure, or incorrect finger placements. Focus on maintaining a relaxed hand position and experiment with bow speed and pressure to produce a clear, smooth sound.
Difficulty in producing clear notes can be a result of improper finger placement, lack of finger strength, or insufficient bow control. Practice proper finger placement and bowing technique, and gradually increase the difficulty of exercises and repertoire to improve note clarity.
A: Learning the violin requires consistent practice and dedication. The time it takes to become proficient varies for each individual, but beginners can expect to spend several months to a year before feeling comfortable playing the violin.
Click here for more information on renting a violin for beginners.